The Stampscapes® 101: Simplescapes
Sun Pines "Miniscapes"
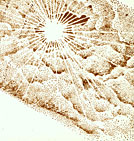
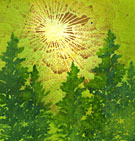
1) Cloud w/Sun 107E was stamped in a medium brown. In this case it was one of the new Ranger Distressed inks.
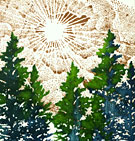
2) Three impressions of Spruce Tree 077C were done. Notice how the trees are lighter in some areas. This is where I wanted to the sun to be shining on them so I inked up the trees in a dark bottle green and went back direct to rubber with a brush marker in a light green. I tried to blend the two different values the best I could.
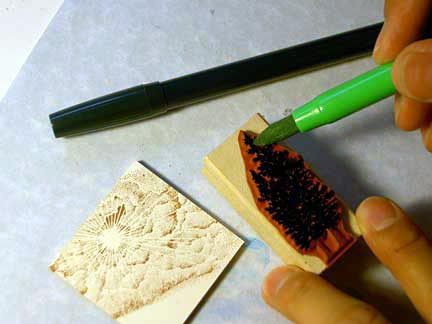
Coloring light into dark. Yes, it may stain the lighter pen a little but just wipe off the pen after inking up your stamp and it will be fine.

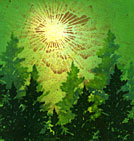
3) A very pale yellow was added to the sky around the sun with a Colorbox Stylus Tool. The yellow was a Ranger Sea Shells yellow. It picked up some of the green from the trees as they weren't dry but it's not going to be crucial. We have a few more colors to go and that slight bleed won't matter at all. One thing that I was careful about was to not tone out my sun as I wanted it to be the lightest thing in the scene.
4) Marvy #43 Brilliant Yellow was added to the scene with the Stylus tool. Again, careful not to tone out the sun. If you did tone it out, we could scratch the tone off being that this is Stampbord but why make extra work for ourselves if we don't have to right?
5) Marvy #11 "Yellow Green" were added with a Stylus Tool.
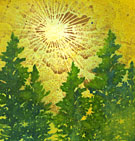
6) Green was added around the edges of the scene and two more impressions of the Spruce Tree 077C were added. I added the extra trees to increase the depth of the scene. The tone of the scene was reaching the value of the initial tree impressions and I thought they were getting a little lost so I went darker with another layer of imagery.
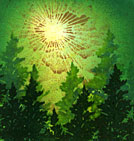
7) Another darker green was added around the perimeter of the scene. When you get this dark, just keep the tones to the outer edges especially on such a small scene like this.
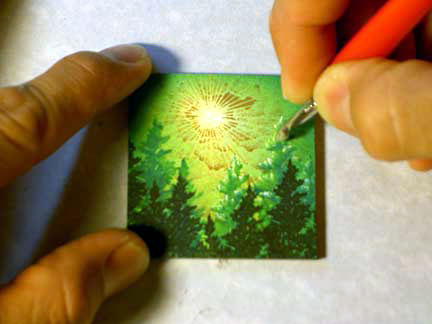
Scratching begins. I started hatching highlights on to the trees. I did these little hatch marks around the top of the trees in little 1/8" scratches or so. I did them in the direction of the sun rays scratching away from the sun.
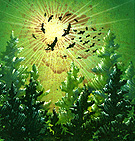
8) All scratching has been done. On the darker foreground trees I just added little scratched highlights and not so much of those hatched marks that are on the lighter background trees. I extended the sun rays out a little with scratches into the darker green areas. Flock 112A was added in black for one extra little detail.