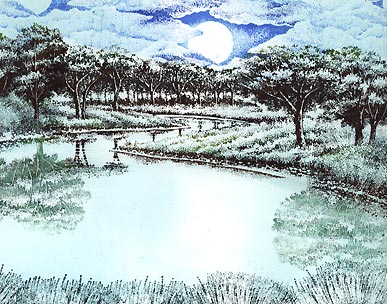
Moon Glow
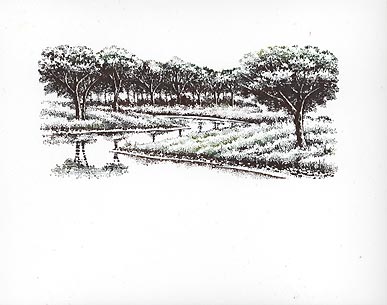
Maple Brook-259F was inked up with an Ranger Industries (R.I.) Adirondak Pesto pad. For added variation I colored --with pens-- in Marvy Bottle Green #25, Dark Brown #18,and Light Green #11 (for highlights on the tops of a couple trees).
Sedge Bank (left)-234F & Sedge Bank (right)-233F were stamped to each side of the Brook image to carry the banks to the edge of the paper. Sedge Filler-251C was used on right side on top of the bank to heighten it. As it turned out I really didn't need to do that. Colors: Marvy Bottle Green #25 and Dark Brown #18.

Maple Pair-239D was stamped on the right and left side of the new banks to continue the tree line. Colors: Dark Brown #18 and Bottle Green #25.
Tall Grass-253D was stamped in a Marvy #25 in the foreground. Maple Pair-239D was used again but this time upside down in the water to create reflections. I used Pine Green #72 but blotted it off before stamping it to get a lighter impression.
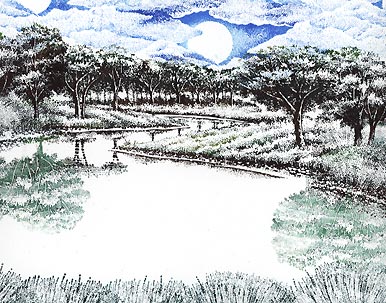
Cloud w/Moon-105E was added with a R.I. Sea Brights Sailboat Blue. 105E was stamped, and the clouds around the moon parts were repeated around the image to fill up the rest of the sky with the same texture.
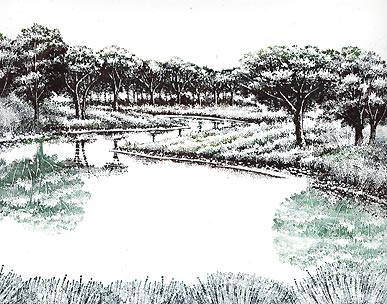
The Colorbox Stylus Tool was used in a Ranger Industries (R.I.) Sea Shells Ocean Aqua. If you don't know what the Stylus tool is, you can check out clearsnap.com. How I use it is basically to just sponge my color on to the scene using one of the tips. My preference is the oval white one. In some areas you can use a dabbing motion; in others you can make larger swipes depending on the need of the area.
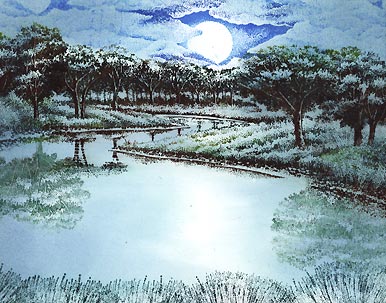
Stylus Tool: Marvy Salvia Blue #60. Deeper blues starting to form but slowly. Salvia is just a little darker than the Ocean Aqua.
Stylus Tool: (R.I.) Sea Brights Sailboat Blue.
Stylus Tool: Marvy Light Green #11. Here we start changing some of the regions of the scene with the green being on the foreground grass, brook sides and trees.
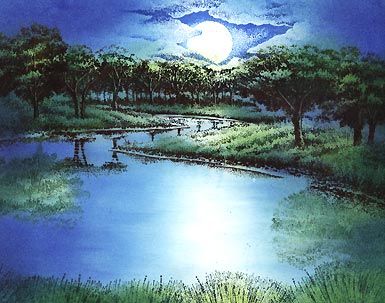
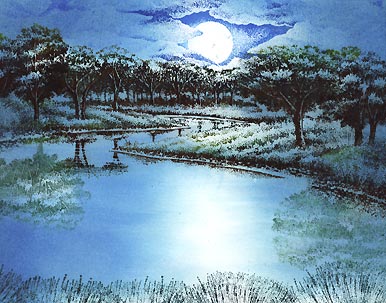
Stylus Tool: Marvy Pine Green #72 was used in the greenery, and Marvy Blue #3 was used in the sky, water and some of the darker areas of the trees.

Stylus Tool: Marvy Pale Violet #31 was used in the sky and water in the dark regions --not really to take things into a violet color scheme but to simply try and make that area richer. More #3 was used.
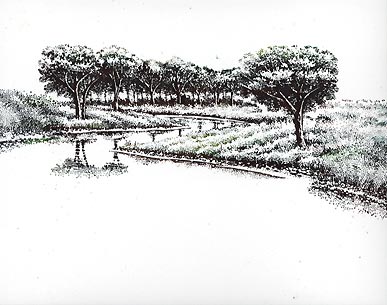
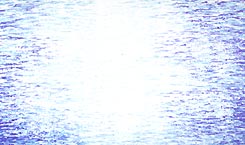
Water Pattern sm.-231C was stamped in a Marvy Salvia Blue #60 in the light areas of the water and in a Marvy Blue #3 in the dark areas of the water. I wanted a variation of water ripples in terms of light/dark so I liked stamping out the image in colors according to how dark my scenes became after toning it in. The illustration below is what the water would look like just stamping out the pattern this way (without all the tone already laid down).
Stylus Tool: A Marvy Prussian Blue #29 was used in the darker regions of the sky and water to deepen the areas.
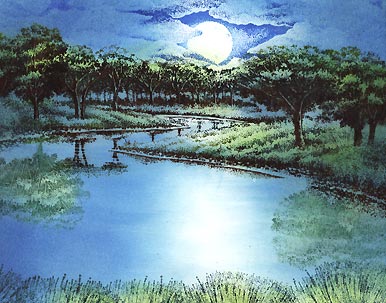
Cotton swab: Using a dry brush touch with [pigment inks from] Colorbox Frost White and a Brilliance Pad Moonlight White I dabbed in some ink around the moon to soften the cloud area and to give it more of a glowing feel. When I say "dry brush", I mean I ink up the tip of the cotton swab and then blot much of the ink off and at the same time kind of smash the tip down a bit to give it a softer application. Very slowly we can build up the pigment ink on the scene one thin layer at a time. It's almost like putting powder down on the scene.

Add sparkle and highlights to your scene with Milky Gel Rollers. In this case Pentel pastel colors in white, blue, green, were used. These colors related to the color scheme used with the dye based inks so I used them here with the gel pens. I used them in the water around the reflection area, on the grass --especially in the light areas, and around the moon. Some sparse applications were on the tree trunks and tree leaf areas.